Upload Documents
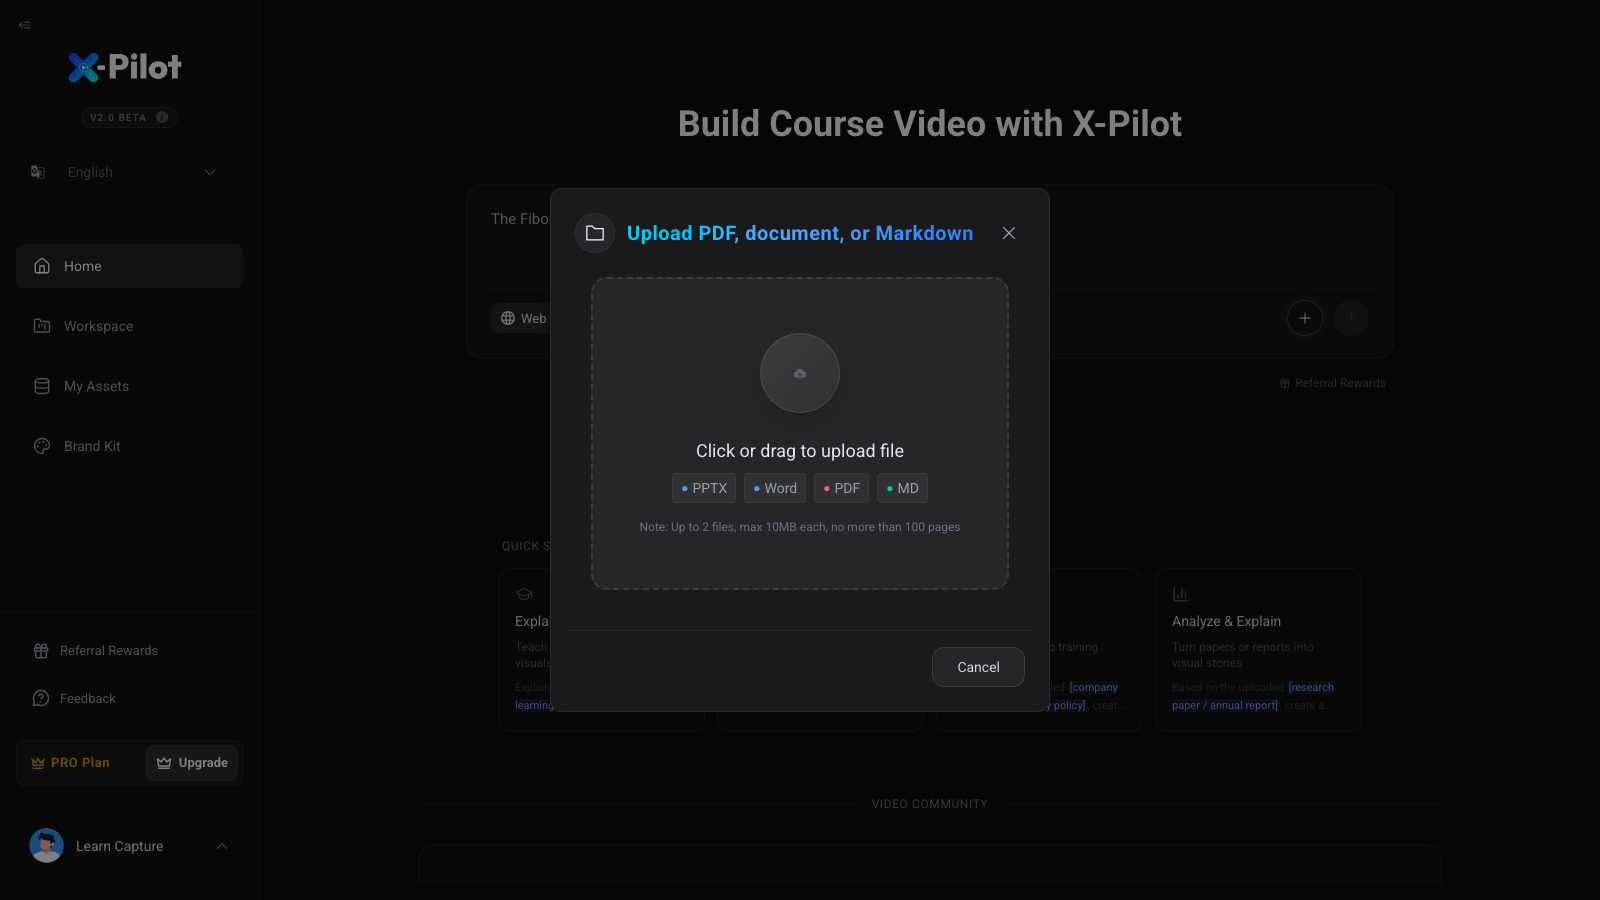
Supports drag-and-drop and file picker. The UI enforces format constraints and upload count limits.

X-Pilot's real production flow is: define your topic, add source files, configure voice and video settings, iterate through chat-based generation, then preview and export. This page uses local runtime screenshots from the app interface, not mockups.
Five production steps with real app captures. Each step lists user action, input, and output.
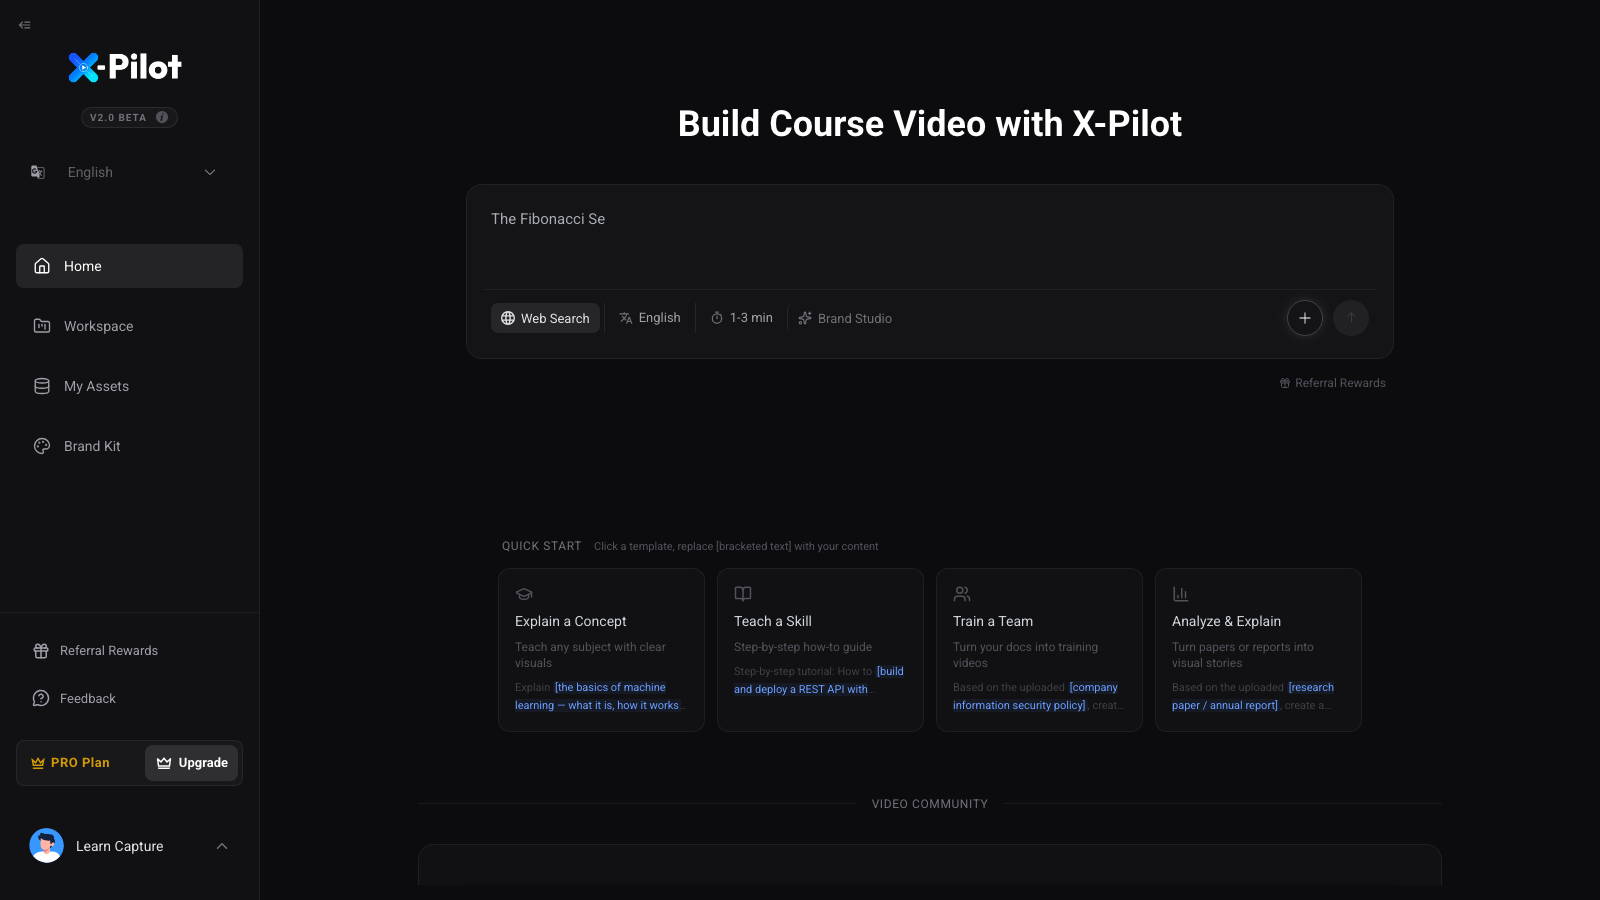

Enter the teaching topic in the input box and submit.
Input: `query` Output: create project request
Use the plus button in the input action row to attach source documents before generation.
Input: files (`.docx/.pdf/.pptx`) Output: file list attached to request

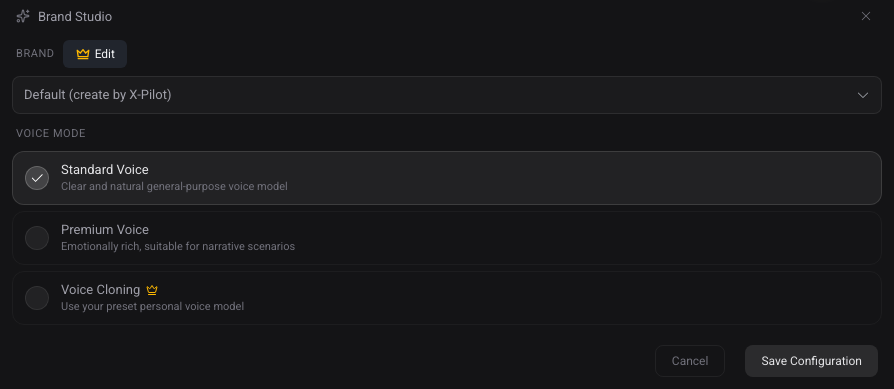
Use the inline row for quick toggles, then open Brand Studio for brand, voice mode, language, and duration before generating.
Input: `video_config`, `brand_kit` Output: generation config persisted
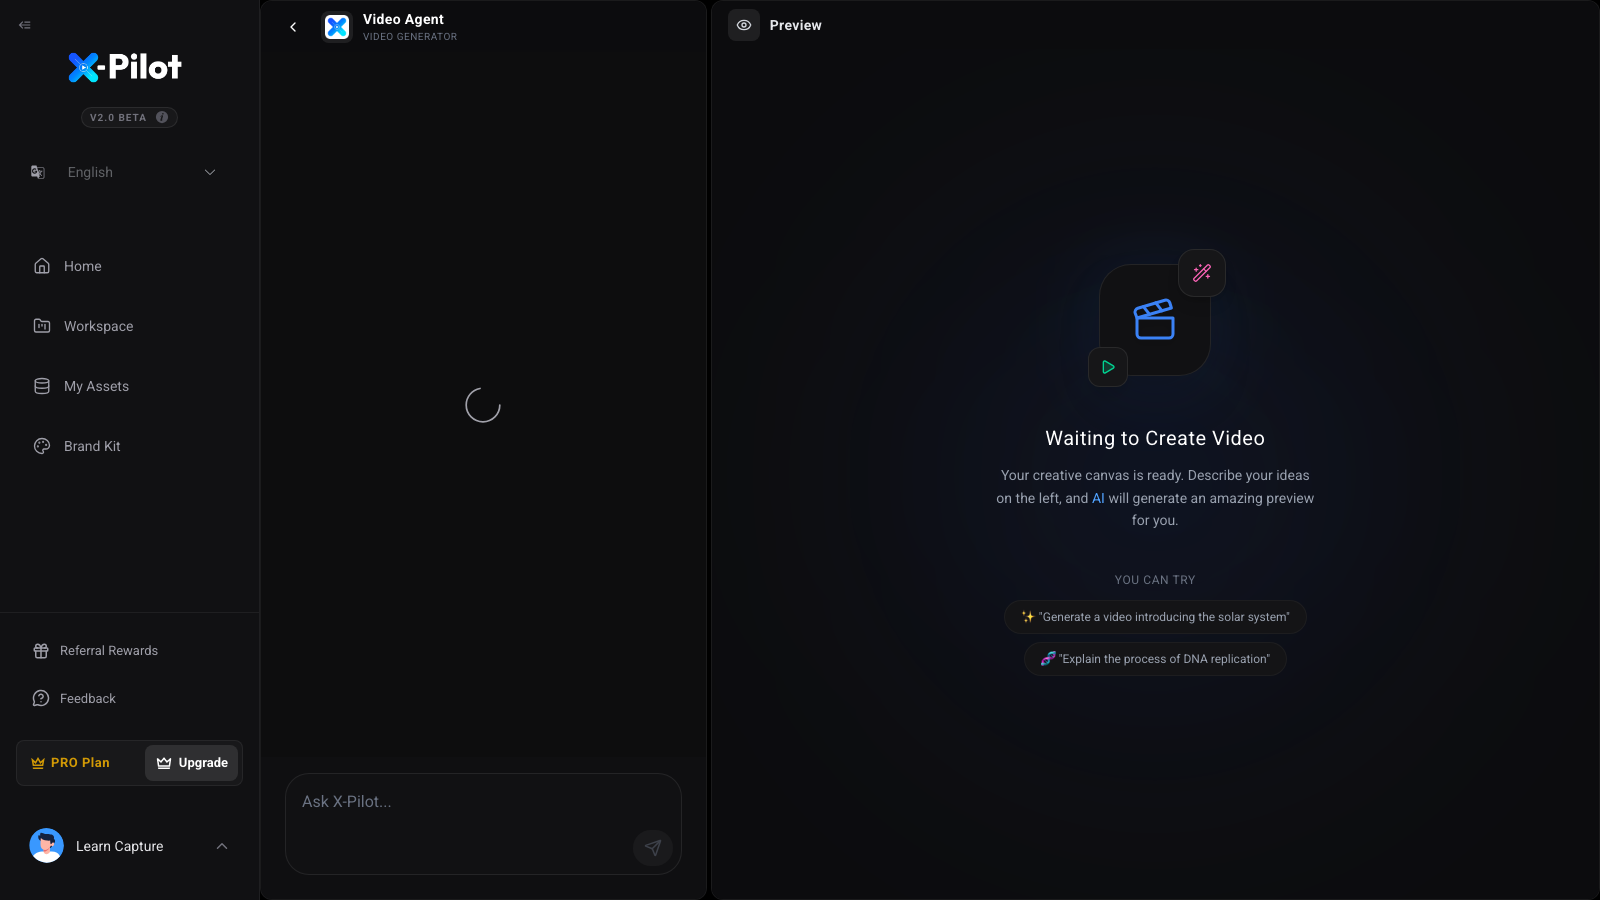
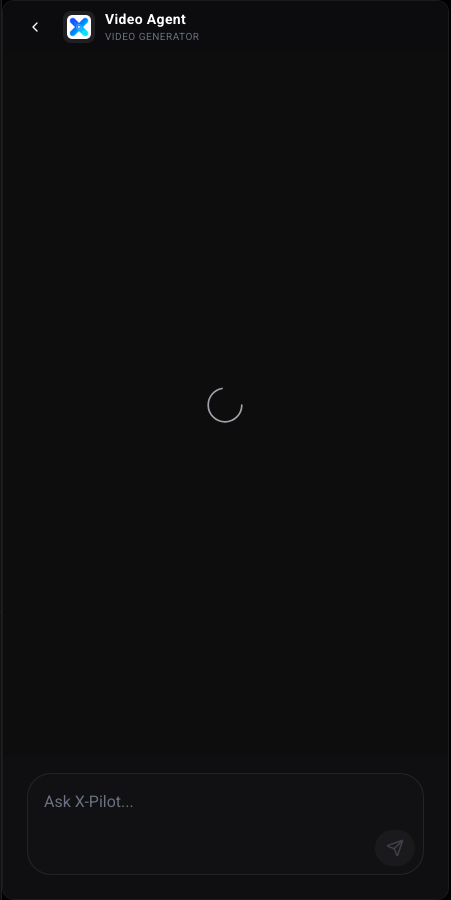
The left panel drives generation through chat; the right panel updates preview output.
Input: follow-up prompts Output: updated preview URL and message timeline
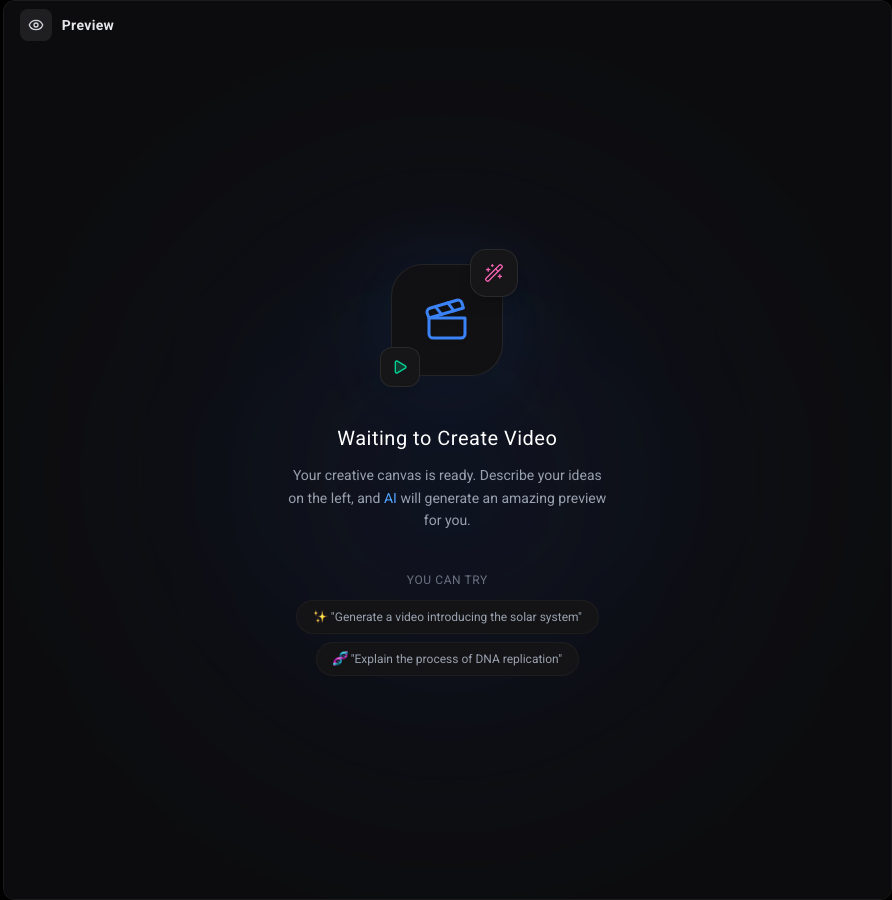
After preview is ready, continue to export and sharing actions from the preview panel toolbar.
Input: selected message / preview state Output: exported video status and share link
Detailed views for complex functions: upload, audio settings, generation loop, and delivery controls.
Supports drag-and-drop and file picker. The UI enforces format constraints and upload count limits.
The latest version exposes language/duration/search and Brand Studio entry directly in the generation action row.
Chat messages and model outputs form the iterative editing loop for content refinement.
Preview readiness and delivery actions (export/share) are managed in the right-side preview panel.
Common blockers and what to check next.
Check file type first. The current upload flow accepts `.docx`, `.pdf`, and `.pptx` only.
Open Brand Studio, pick a voice mode (and voice item if applicable), then save configuration before generating.
Continue from the chat panel and wait for the assistant response containing preview data; preview panel updates after that response is parsed.
Reopen Brand Studio, switch target language, save, then regenerate from chat to apply the new config.
Keep the preview page open and monitor export status changes. Complex videos may stay in pending/running states longer.
Start with a topic, add your documents, configure settings, and iterate in chat until your preview is ready.